
You receive a new batch of supplier photos just as a seasonal collection needs to go live. Some images have white backgrounds, others have tight crops, and several filenames give you no clue which variant they belong to. Without a repeatable Shopify product image workflow, a simple catalog update turns into time spent matching files, adjusting crops, and checking product pages.
A Shopify Product Image Workflow for Faster, More Consistent Catalog Updates walks you through preparing, naming, uploading, and reviewing your images in a consistent order. You get practical Shopify product image workflow steps for deciding image size and format, matching photos to products and variants, and writing useful alt text before you publish.
The goal is not to make every photo identical. You need enough consistency for shoppers to compare products without losing details such as texture, scale, or packaging. A fixed crop can make collection pages look tidy, but applying it blindly can cut off the feature a customer needs to see.
Start with a small set of image rules and a clear place for approved files. Then test those rules on a few products before updating the rest of your catalog. That approach keeps Shopify product image management manageable and helps you catch mismatched variants or awkward crops before they reach shoppers.
Table of Contents
- Set image standards before updating the catalog
- Prepare files for reliable Shopify uploads
- Follow a repeatable product photography workflow
- Upload and manage product images efficiently
- Optimize product images for search and accessibility
- Run quality checks before and after publishing
- Turn the workflow into a repeatable catalog checklist
Set image standards before updating the catalog
Before you replace a single photo, decide what a complete product image set looks like. Your Shopify product image workflow needs a shared standard so a supplier delivery, a studio shoot, and a later reshoot can produce images that belong together.
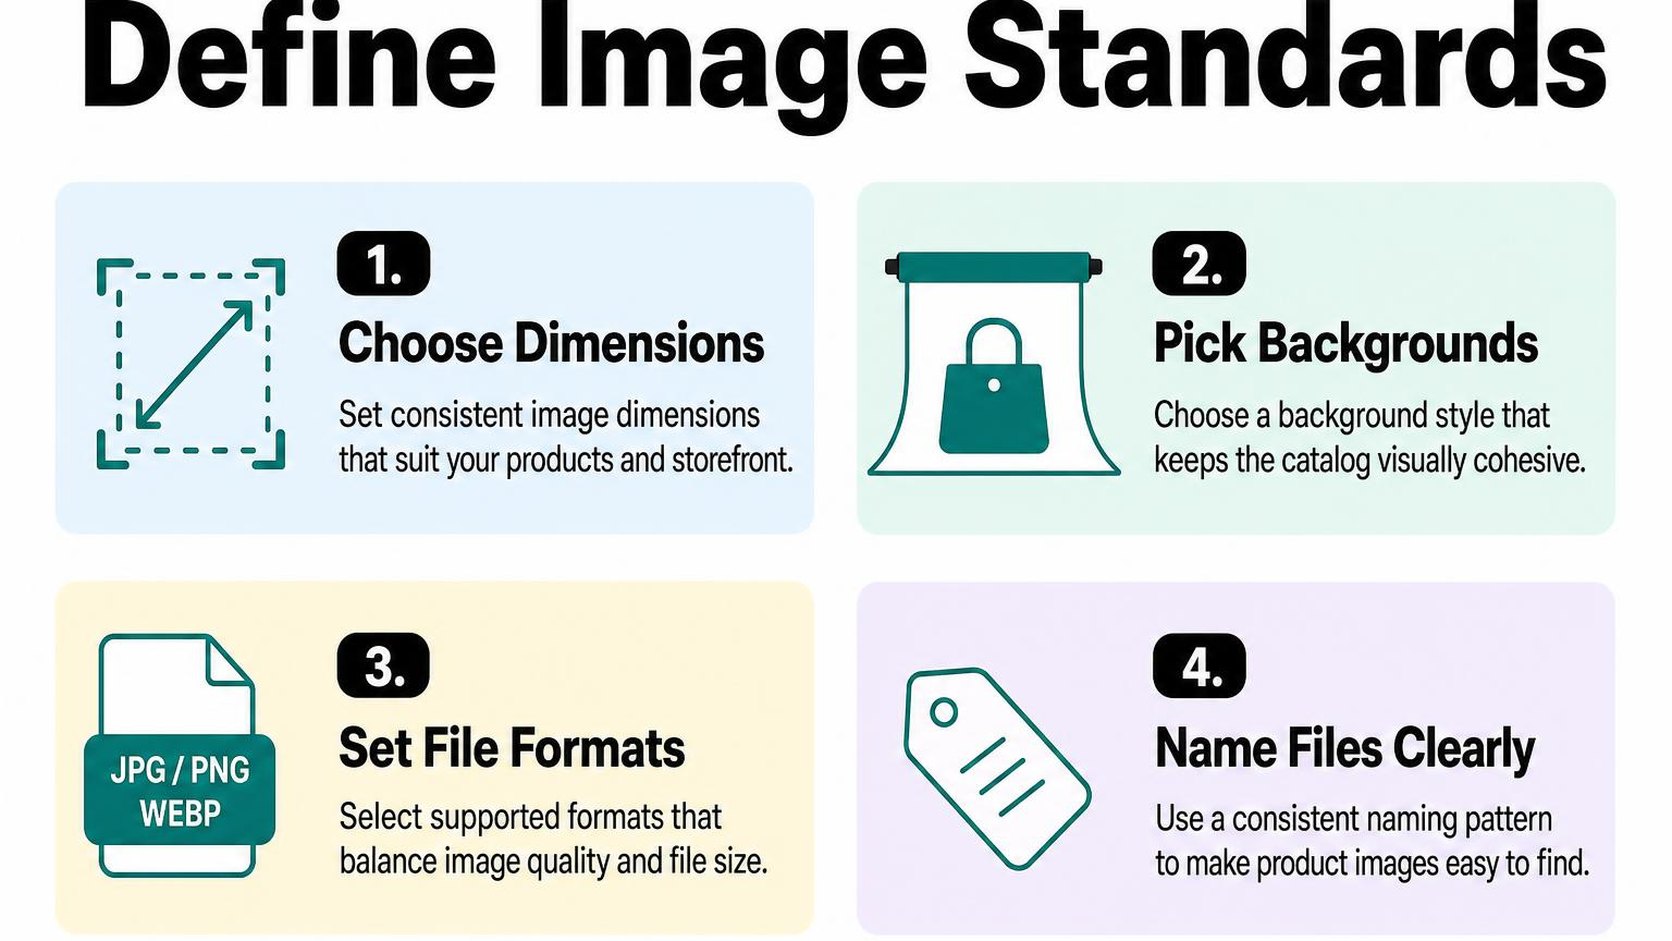
Start with one representative product from each category. Approve those examples before applying the rules across your catalog; a standard that works for skincare bottles may cut off the handles on your tote bags.
Define the role of each product image
An image role is the specific question a photo answers for a shopper. Your first image identifies the product, while supporting images explain details, scale, use, or what arrives in the package.
Plan the gallery around those questions rather than a fixed photo count. Six nearly identical angles add production work without necessarily helping someone choose.
- Primary view: Show the full product clearly, with a position and viewing angle that stay predictable within its category.
- Detail view: Reveal a feature shoppers cannot judge from the primary image, such as stitching, texture, a closure, or a connection port.
- Scale or use view: Show the product in a hand, on a person, or beside a familiar object without making its size misleading.
- Variant or contents view: Confirm the selected color, pattern, or included pieces. Keep props visibly separate from what you sell.
Create a repeatable visual brief
A visual brief is a short reference that tells anyone producing images what to deliver. Include approved examples, the required image roles, lighting direction, camera angles, and export requirements.
Make the brief specific enough to prevent guesswork. “Clean product photo” leaves room for interpretation; “front view, centered, full product visible, soft shadow falling right” gives a photographer or editor something repeatable.
- Category reference: Save an approved primary image and supporting set for each product type, including an unusually tall or wide item.
- Delivery requirements: Specify dimensions, aspect ratio, file format, and how filenames identify the product, variant, and image role.
- Accuracy checks: Require true-to-product colors, readable labels, and no edits that remove real seams, textures, or included components.
Use the Shopify image sizing and resizing guidance to choose export dimensions before production. Keep editable originals separately so a future theme change does not force another shoot.
Choose consistency rules for crops and backgrounds
Aspect ratio is the relationship between an image’s width and height. Choose a default for collection-card images, then check how your theme displays it on mobile and desktop before approving the full batch.
Consistent framing does not mean forcing every product into an identical crop. Set a target for how much space the product occupies, but allow category exceptions where a tighter crop would hide important parts.
Practical rule: Keep the background, alignment, and breathing room predictable within each category. Preserve the entire product before chasing identical visual size.
Specify whether backgrounds are white, neutral, or contextual, and whether natural shadows stay. Avoid mixing isolated cutouts and lifestyle scenes as primary images within one collection unless that difference serves a clear merchandising purpose.
Prepare files for reliable Shopify uploads
You open an export folder and find three versions of the same product shot, each with a different filename. Before uploading anything, make file preparation a repeatable part of your Shopify product image workflow so you can identify the approved version without opening every image.
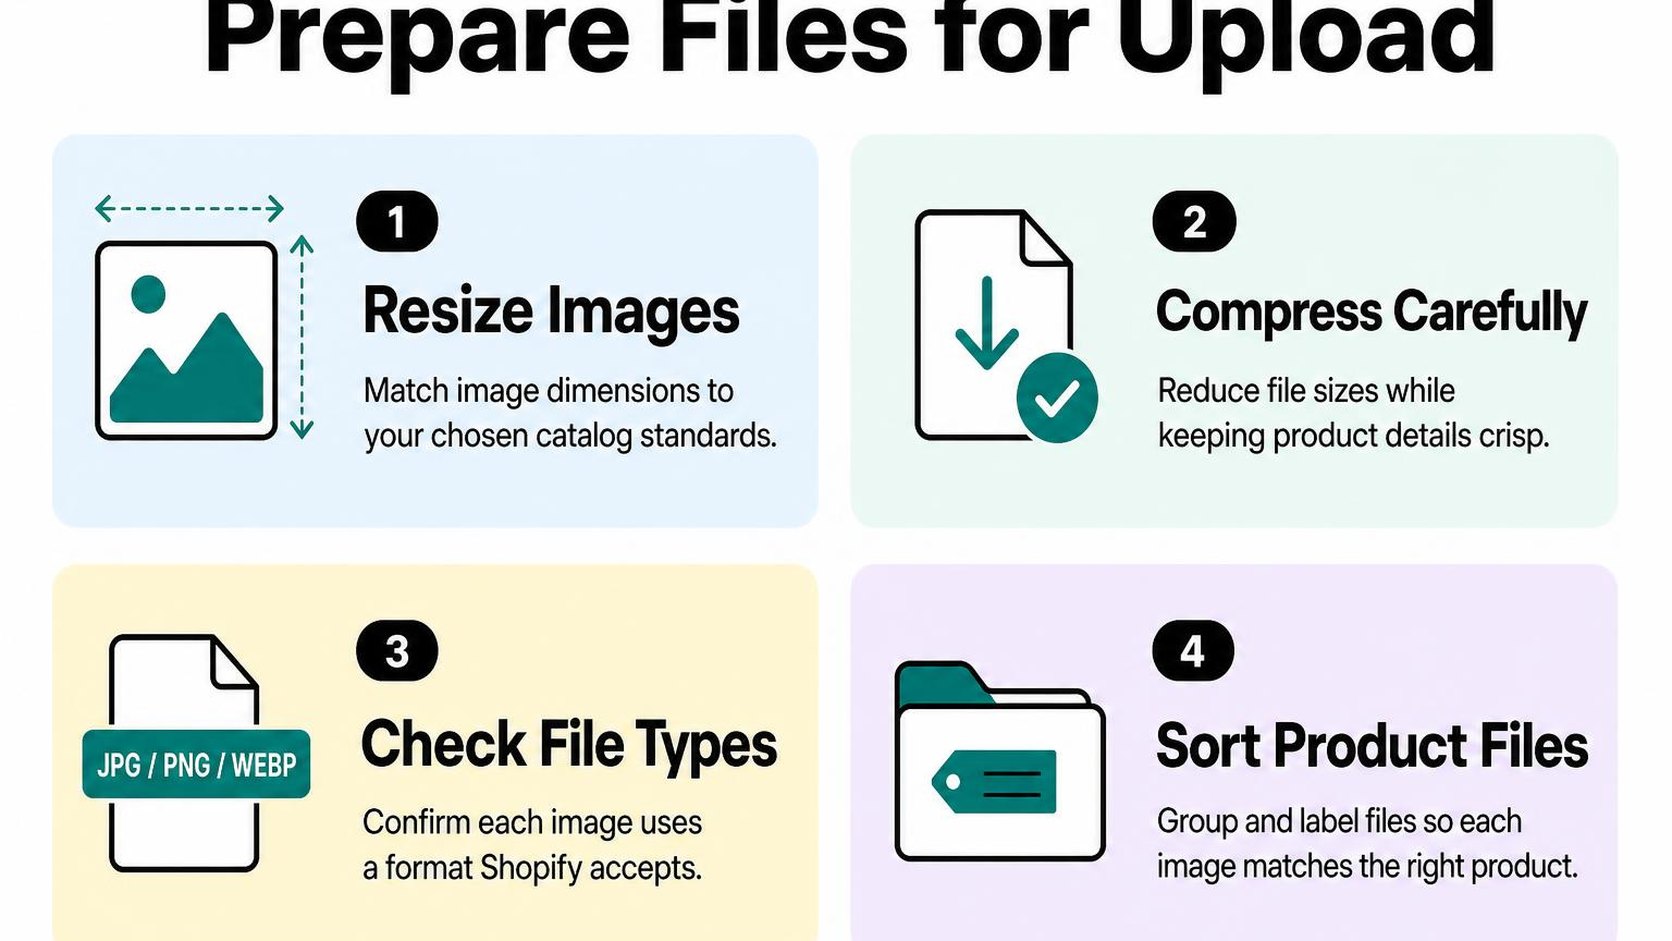
Keep original photographs separate from upload-ready exports. This gives you room to adjust dimensions or compression later without repeatedly editing an already compressed file.
Choose image dimensions, formats, and compression
Shopify product image size and format depend on the detail shoppers need, your theme’s display, and whether transparency matters. A small accessory and a patterned rug do not necessarily need identical export settings.
Pixel dimensions describe an image’s width and height in pixels. Export enough detail for the largest useful display and zoom view, then inspect a sample on your storefront before processing the remaining files.
- Dimensions: Start with a sharp source image and test an export against your product gallery. Do not enlarge a small photograph just to reach a preset target; extra pixels cannot restore missing detail.
- Format: JPEG is a practical starting point for photographs without transparency. PNG can suit transparent backgrounds or graphics, but compare file weights rather than assuming one format works best everywhere.
- Compression: Reduce file weight while checking labels, edges, and textures at normal viewing size and in zoom. Stop when further reduction introduces visible damage.
Shopify automatically creates different image sizes and serves a format suited to the customer’s browser, as its product media documentation explains. That helps delivery, but it does not repair a blurry source or remove the need to check your exports.
Apply clear product image naming conventions
Useful Shopify product image naming conventions combine a readable product description with identifiers your team already uses. Keep the order predictable: product name, SKU, variant, image role, then sequence number.
For example, linen-shirt-ls104-sand-front-01.jpg is easier to distinguish than DSC_4832-final-new.jpg. Use lowercase letters and hyphens consistently, and avoid promotional claims or repeated search phrases.
- Stable identity: Include the SKU or another durable identifier so similarly named products remain distinguishable.
- Image role: Use agreed terms such as front, back, detail, packaging, and lifestyle rather than inventing new labels for each shoot.
- Separate records: Track approval dates and revisions in your working folder or tracking sheet, then keep only the approved export in the upload folder.
Practical rule: A filename should help you identify the product and view. It does not assign a Shopify variant, determine gallery order, or replace descriptive alt text.
Organize folders by SKU, variant, and image role
If you are deciding how to organize product images in Shopify, first make the local handoff unambiguous. Create one folder per product SKU, variant subfolders where needed, and separate originals, working files, and approved exports.
Use a tracking sheet with columns for SKU, variant, filename, image role, intended gallery position, and upload status. This supports Shopify product image management without relying on folder order to control the storefront.
Before uploading a batch, filter for approved files and check that each variant has its required views. Keep rejected shots outside that folder so a bulk selection does not publish unfinished work.
Follow a repeatable product photography workflow
Your supplier sends new colorways, but the photos arrive with different lighting, angles, and spacing. A repeatable Shopify product image workflow helps you catch those differences before they become a mismatched collection grid or another round of reshoots.
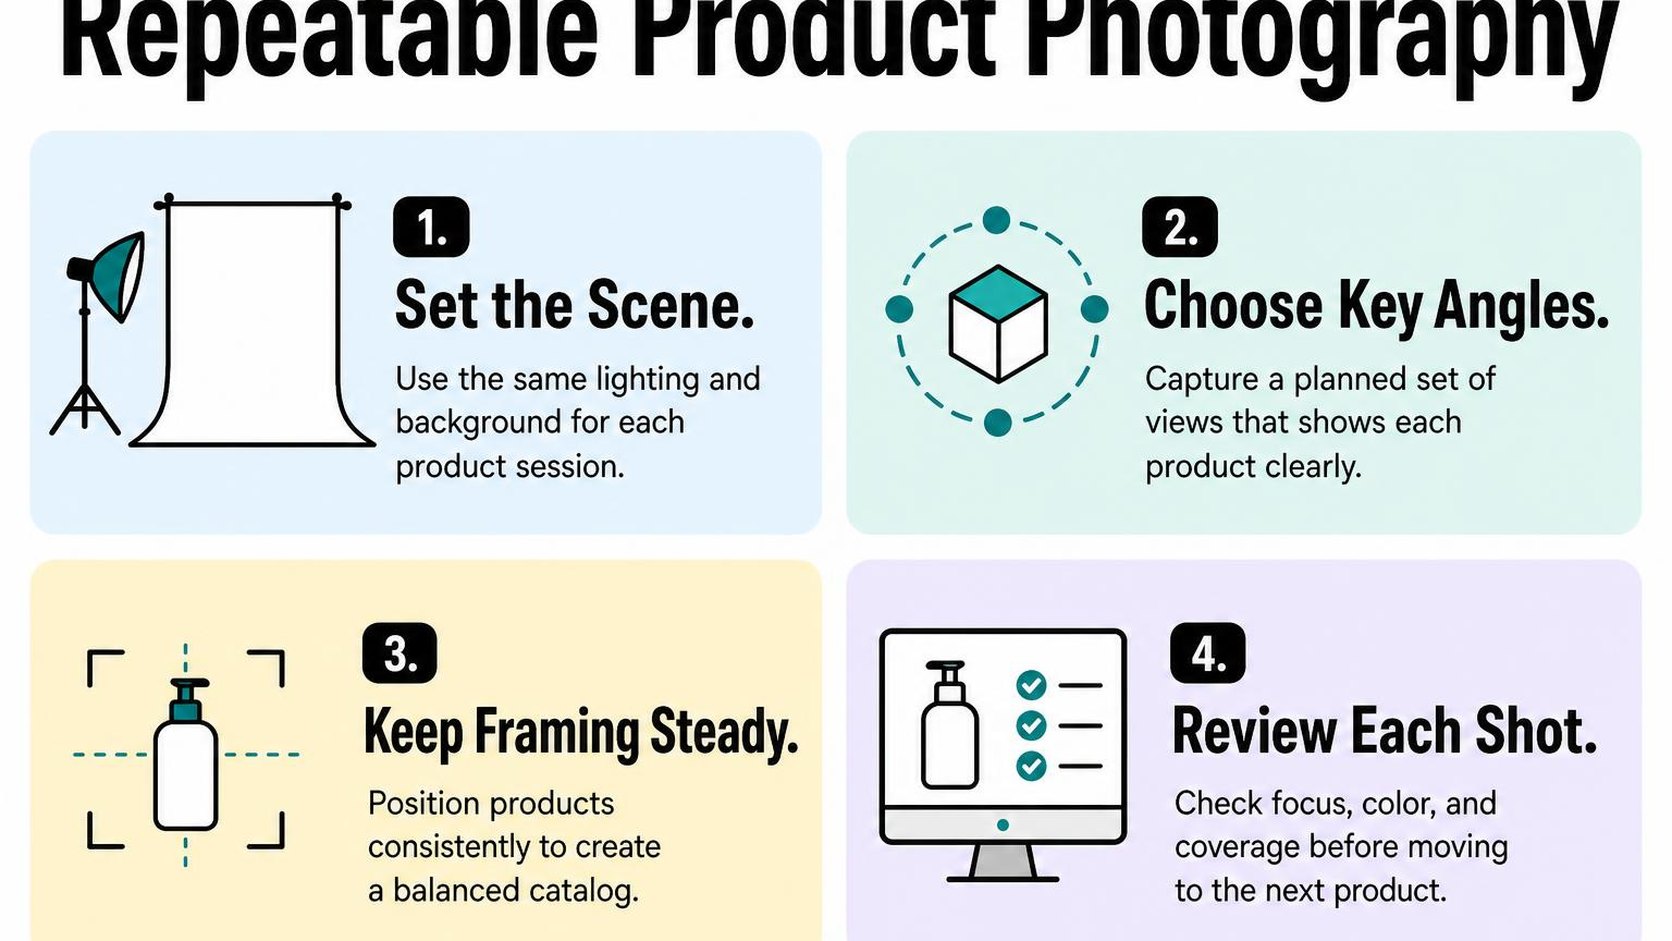
Move each batch through capture, editing, and approval in that order. Approve one representative product first, then use it as the reference for the rest of the shoot.
Capture a useful sequence of product views
A shot list defines the views you need to explain a product before the camera comes out. Start with a clear main view, then add an alternate angle, a detail, and a scale or in-use view when those help answer buying questions.
Keep the camera position, lighting, and product placement steady across comparable items. Consistency makes products easier to compare, but do not force every category into the same sequence: a jacket needs different evidence than a ceramic bowl.
- Main view: Show the product clearly, with framing that works beside other items in its collection.
- Construction detail: Capture texture, closures, connections, or finishes that shoppers cannot judge from the main view.
- Scale and use: Include a reliable size reference or realistic setting without obscuring what you sell.
- Variant coverage: Photograph each visible difference rather than assuming one color or material can represent every option.
Edit and export images against the visual brief
A visual brief is your editing reference for background, crop, product scale, color, and shadow treatment. Apply those decisions to a sample image before processing the batch, especially when more than one person handles editing.
Correct exposure and white balance without changing the product’s actual appearance. Removing distractions helps shoppers inspect an item; smoothing away texture or shifting a difficult color creates a different promise from the product you ship.
Set Shopify product image size and format around the largest intended display, not an arbitrary file-weight target. Keep editable originals separate, and test exported images for sharp detail and visible compression before applying the same settings everywhere.
Practical rule: Standardize the presentation, not the product. Match backgrounds and spacing, but preserve real differences in color, shape, finish, and proportions.
Review variants and mobile crops before upload
Review approved-looking exports as a product gallery, not just as individual files. Check that the sequence answers new questions as shoppers move through it, rather than repeating nearly identical angles.
Preview representative images in a narrow, phone-sized layout and in your collection card’s intended crop. If your theme crops images to fill a frame, extra background space may protect a handle or sleeve, but too much makes the product difficult to inspect.
- Variant accuracy: Match each image to the actual color, material, and included components before preparing variant assignments.
- Crop safety: Keep defining features inside the visible area and check that small details remain useful on mobile.
- Approval gate: Hold back any image with uncertain color, missing views, or misleading edits. Resolve it before upload rather than treating a published gallery as a review queue.
Upload and manage product images efficiently
You upload a replacement gallery, then notice that a detail shot leads the product page and the blue variant still shows the old photo. Your Shopify product image workflow needs a predictable upload sequence and a verification step, not just a folder of approved files.
Keep uploads separate from cleanup. Confirm that the new images appear in the right places before you remove the old ones.
Add images in a deliberate order
For a small update, open Products, select the product, and add approved files in the Media area. Then arrange the gallery deliberately; do not assume filename order or the order you select files becomes the final storefront sequence.
The featured image is the product’s main image, typically used in collection cards and other product previews. Put the clearest product view first, then arrange supporting images around the questions shoppers need answered.
| Position | Image role | Check after upload |
|---|---|---|
| First | Primary product view | Correct image appears on collection cards |
| Next | Alternate angles and details | Each image adds useful information |
| Later | Scale, lifestyle, or included items | Context does not imply unlisted accessories |
This sequence is a starting point, not a fixed template. If fit or dimensions drive purchases, move that evidence earlier rather than burying it behind several similar angles.
Match images to the correct product and variant
Use a product handle or SKU in your upload tracking sheet to distinguish similar products. A descriptive filename helps you find a file, but it does not automatically assign that image to the matching variant.
Assign the appropriate image to each variant in the product editor, then test the selections on the storefront. Check colors and materials individually, especially when several variants share nearly identical thumbnails.
- Product match: Confirm the model, pack quantity, and included components against the product record.
- Variant match: Select each option and verify that its assigned image changes as expected in your theme.
- Gallery behavior: Check whether selecting a variant changes only the main image or also affects which thumbnails appear. Do not assume variant assignment filters the entire gallery.
Use a controlled process for bulk updates
For catalog-scale changes, Shopify’s product CSV supports image URLs, image positions, and image alt text. Follow Shopify’s instructions for importing product changes and multiple images rather than treating the spreadsheet as a simple file-upload queue.
Export your current product data and preserve a separate record of existing image URLs, positions, and variant assignments before editing. Keep source image URLs accessible during import, and test a few representative products before expanding the batch.
- Limit scope: Change only the intended products and fields. Review overwrite settings before starting the import.
- Verify results: Inspect image order, variant assignments, duplicates, and failed rows after the test batch.
- Delay deletion: Remove superseded media only after the replacements pass storefront checks.
A CSV export is a useful reference, not a complete one-click rollback. Smaller batches take more runs, but make mistakes easier to isolate and correct.
Optimize product images for search and accessibility
Your new product photos look consistent, but the image descriptions still refer to last season’s colors. Your Shopify product image workflow needs a content check after each replacement, not just a visual check. Accurate descriptions help shoppers who cannot see the image and give search engines useful context without turning every field into a keyword list.
Write accurate, useful alt text
Alt text is a text alternative that communicates an image’s relevant visual information. For a product photo, describe the item, its visible distinguishing details, and the view when that view matters. Write what the image shows, not every feature listed on the product page.
For example, “Olive canvas backpack, rear view showing padded shoulder straps” distinguishes that photo from the front view. “Best travel backpack affordable backpack Shopify bag” does not help someone understand it. Your Shopify product image alt text workflow should include a review whenever you replace a photo or change a variant assignment.
- Describe the difference: Mention a close-up, fastening, texture, or angle when it adds information beyond the main image.
- Check visible facts: Do not infer materials, dimensions, or certifications from appearance alone.
- Read it aloud: Remove repeated keywords and promotional claims that make the description harder to follow.
Use the guide to writing useful alt text for product images to set a repeatable review standard. If you use ALT SEO: AI Alt Text Generator to generate descriptions in bulk or for new uploads, review the output for incorrect colors, materials, and product details. Generation reduces drafting work; it does not replace verification.
Keep filenames descriptive without keyword stuffing
Descriptive filenames identify the image’s subject in a readable file name. Set your Shopify product image naming conventions before upload: product name, visible color, and view usually give you enough detail. Use a stable pattern such as “canvas-backpack-olive-rear.jpg” rather than a camera-generated name or a string of search phrases.
Keep an internal SKU if it helps your team match assets, but do not make it the only meaningful identifier. Renaming source files improves organization; it does not justify replacing every live image solely to chase a ranking gain.
Practical rule: Name the file for identification, write alt text for understanding, and keep sales copy on the product page. These fields have different jobs.
Check image SEO alongside product-page context
Your image SEO workflow is the process of checking images and their surrounding page information together. A correctly described olive backpack still creates confusion if it appears beside a navy variant selection or an outdated product description. Google’s image SEO guidance recommends useful alt text and descriptive filenames, and explains that nearby page content helps Google understand an image.
- Match the page: Confirm that the title, description, selected variant, and displayed photo describe the same item.
- Inspect the theme: Check the rendered image’s alt attribute after an update rather than assuming the saved text appears correctly.
- Review exceptions: Prioritize replaced photos, similar-looking variants, and generated descriptions instead of rewriting accurate text on every update.
Run quality checks before and after publishing
You replace a batch of product photos, then notice that the collection grid shows a detail shot instead of the main view. A reliable Shopify product image workflow catches that mismatch before you repeat it across the catalog.
Use a small test batch before publishing the full update. Keep the previous files and image order recorded until the replacement passes review; faster uploads are not useful if you cannot undo a merchandising mistake.
Check image order, sharpness, and variant accuracy
Start with products that expose different risks: an item with several colors, one with fine texture, and one with an unusual shape. Compare each upload against the approved source, not just the thumbnail in your admin.
Inspect the image at its normal storefront size and in the enlarged gallery. Extra compression saves data, but it becomes a problem when fabric texture, labels, or small components turn muddy.
- Image order: Confirm that the main view appears first, followed by useful angles, details, and scale references. Remove outdated duplicates rather than leaving shoppers to interpret conflicting photos.
- Sharpness and cropping: Check edges, product details, and empty space around the item. Reject stretched images and crops that hide included accessories.
- Variant accuracy: Select every updated color or style on the test products. Verify that the displayed image matches the selection, especially when filenames or shades look similar.
- Batch approval: Record which products pass and which need correction. Pause the remaining upload if the same mistake appears twice.
Review storefront display on mobile and desktop
An image can look correct in the admin and still fail inside your theme. Preview the changes where possible, then inspect the published product page and collection grid immediately after release.
Use a real phone as well as a desktop browser. Narrow screens reveal awkward crops and gallery controls that a desktop preview can miss.
- Gallery behavior: Swipe through images, open zoom, and change variants. Confirm that controls remain usable and the selected image stays visible.
- Grid consistency: Compare neighboring products for subject scale, background, and alignment. Consistency should help comparison without forcing every product into a crop that hides its shape.
- Layout stability: Reload the page and watch whether text or purchase controls jump as images appear. Check both the first image and media farther down the page.
Practical rule: Approve the image in the storefront context, not just as a standalone file. If a shopper cannot identify the item or selected variant quickly, correct it before expanding the batch.
Monitor page performance and shopper feedback
Record a before-and-after performance check on the same product page under similar conditions. Repeat the test rather than treating one slow load as proof that the new images cause a problem.
Use these image SEO and performance practices to guide further checks when your updated gallery loads poorly.
- Performance: Investigate slower image appearance, oversized downloads, or new layout movement before changing the entire catalog again.
- Shopper feedback: Watch for questions about color, size, or included items. Compare complaints with the exact product and variant shown, then fix recurring confusion in your Shopify product image checklist.
Turn the workflow into a repeatable catalog checklist
Your next collection arrives while last season’s image refresh is still waiting for approval. A repeatable Shopify product image workflow gives each batch a clear owner, a defined release point, and a record of what changes.
Keep the checklist short enough to use during a busy launch. More approval steps can catch mistakes, but unnecessary handoffs slow routine updates without making your catalog more consistent.
Assign owners and approval points
Give each stage one accountable person, even when several people contribute. In a small store, you may handle every role yourself; separate the checks so that preparing a file does not automatically count as approving it.
- Preparation owner: Collects source files, matches them to products and variants, and checks that the required views are available.
- Approval owner: Confirms product accuracy, crop, background, and image order against your documented standard before upload.
- Publishing owner: Applies approved changes, checks the live product pages, and records completion or exceptions.
- Escalation point: Names the person who decides whether missing photography delays publication or qualifies for a documented exception.
Practical rule: If a batch has no named approver, it is not ready to publish. Use a shared status field rather than treating silence in a message thread as approval.
Document the process for new products and bulk refreshes
Write one shared checklist with two paths: a new product gets its complete gallery, while a refresh changes only the approved assets. Record the intended change before editing so that a background update does not accidentally replace useful detail shots.
For catalog-scale changes, Shopify’s product CSV instructions explain image URLs, image ordering, and image alt text. Test a small batch before expanding the import, and keep a record of the previous image assignments rather than assuming every change is easy to reverse.
- Identify: Record the product identifier, affected variants, batch owner, and requested change in one shared tracker.
- Prepare: Follow your Shopify product image naming conventions and approved size, format, crop, and background rules.
- Describe: Include a Shopify product image alt text workflow that checks descriptions against the actual image, not just the product title.
- Approve: Mark the exact files and gallery order as ready; keep rejected drafts outside the upload folder.
- Publish and close: Check the changed products, record the completion date, and assign any unresolved issue before closing the batch.
Review standards as the catalog grows
Review your standards when you add a product category, change your theme, or see repeated exceptions. A framing rule that suits skincare bottles may not suit furniture, so document category-specific examples instead of forcing every item into one template.
- Sample regularly: Check a small selection of recent launches and refreshed products against the same checklist.
- Track rework: Record why batches return for correction, then improve the instruction causing repeated mistakes.
- Maintain the standard: Date each revision, name its owner, and archive outdated examples so new contributors follow the current process.
Use this checklist alongside guidance from Yassine Malti, the developer writing from store work.
Put this into practice
Start with the store you already have, then use the guides on the blog for the next page that needs the same treatment.
Shopify apps by Yassine Malti
Put this into practice
-

ALT SEO · Image alt text
AI alt text for every product image · 100 images/month free
-

RANKit · Meta titles & descriptions
AI meta titles and descriptions, sized for Google · 50 meta tags/month free
-

TAGit · Product tags
SEO-friendly product tags, generated in bulk · 50 tags/month free